Set Up a Stationary Bike Before You Chase Intensity
Five deliberate setup checks can make indoor cycling more comfortable and repeatable before resistance, cadence, or class energy starts driving the session.
By Moow Editorial ·
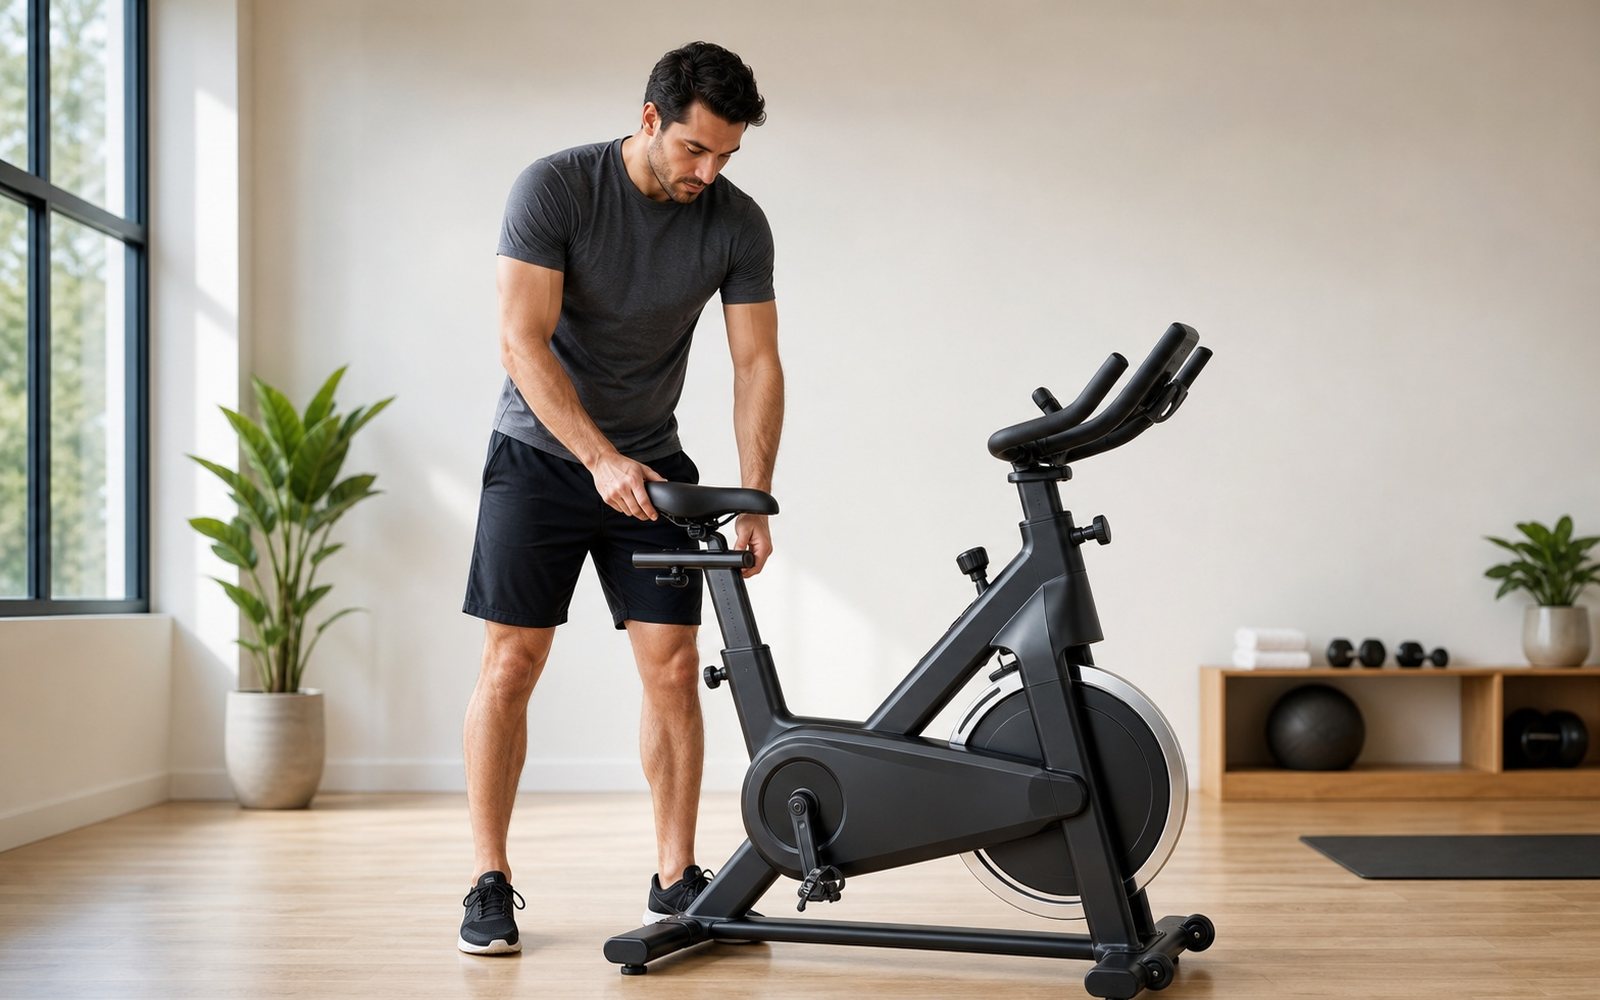
- Set saddle height and reach while the bike is still, then test them at easy effort.
- Keep resistance high enough for control but low enough for a smooth pedal stroke.
- Change only one setup variable at a time and record what worked.
Start with the saddle, not the screen
Stand beside the bike and use the top of your hip as a rough first estimate for saddle height. Once seated, place the ball of each foot over the pedal and turn slowly. At the bottom of the stroke, the working knee should remain softly bent; the hips should not rock side to side to reach the pedals.
Move the saddle in small increments. A saddle that is too low can leave the knees crowded at the top, while one that is too high may make you point the toes or shift the pelvis. These signs are prompts to adjust, not a diagnosis. Record the final number or notch before leaving the bike.
Make the reach support relaxed control
Adjust the saddle forward or back and set the handlebars so you can reach them without locking the elbows, shrugging, or rounding aggressively through the back. Beginners and riders managing limited mobility often prefer a slightly higher handlebar position. Keep enough weight through the saddle that the hands can stay light.
Secure the feet according to the bike design and check that laces, straps, and loose clothing cannot meet a moving part. Your knees should generally track in the same direction as the feet rather than collapsing inward. Do several slow revolutions before standing on the pedals or adding meaningful resistance.
Test the setup under easy load
Pedal easily for five minutes and scan the contact points: sit bones, hands, feet, knees, hips, and low back. Some pressure from an unfamiliar saddle can occur, but pinching, numbness, or pain that changes your movement deserves an adjustment. Do not use a hard warm-up to prove that the setup works.
Add enough resistance that the flywheel feels controlled and your feet do not bounce through the bottom of the stroke. Then use breathing or the talk test to select effort. Cadence and resistance are tools for creating workload; neither is a universal score, and class cues should never override safe control.
Progress the ride, not every dial
Build a steady base first: perhaps ten to twenty minutes at an effort that permits comfortable conversation in sentences. Over later sessions, extend time, add a few controlled intervals, or raise resistance modestly. Changing duration, cadence, resistance, and out-of-saddle time together makes it difficult to know which demand caused fatigue or discomfort.
Finish by noting the bike model, saddle and handlebar settings, duration, and how the ride felt. This small record makes shared gym bikes far easier to use next time. If symptoms appeared, return to the last comfortable setup and workload rather than forcing consistency with a number on the console.
Sources
Stop riding for chest pressure, faintness, severe shortness of breath, or sudden weakness. Persistent knee, hip, back, hand, or pelvic numbness is not a cue to push harder; adjust the bike and seek qualified assessment when symptoms continue.